Setup Business Email
Log in to Control Panel
Go to the link received via email.
Once there, you should see a Sign in screen like this:

Enter “Username” into the “Please enter username” field.
Enter “Password” into the “Password” field.
Click “Sign in”
You will be redirected to Control Panel like this:
![]()
Add Email Account
Click on E-mail Manager and then E-mail Accounts on the left navigation.
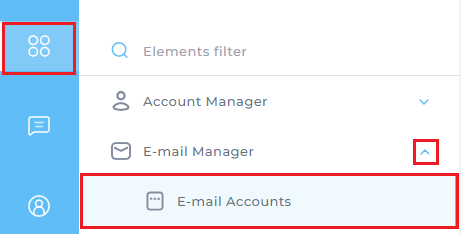
From there you see a list of email accounts. Note that your Control Panel Username always
exists as an email account on the domain. This is necessary for back-end functionality, you
cannot delete it.
![]()
On the right side under Actions click on CREATE ACCOUNT
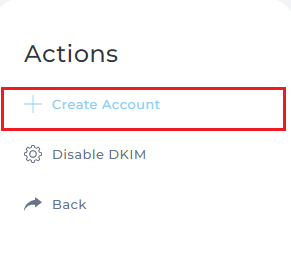
Then you will see this interface:
![]()
Email Quota is the amount of disk space in MB that you want that account to be able to use. Send Limit is a daily limit on outbound email, which goes to a max of 7200 (or 300 per hour, as is our limit).
Finally, when ready, click CREATE ACCOUNT at the bottom right. A pop-window will confirm the account creation.
![]()
Add MX Record
1. Log in to your domain control panel and go to DNS Record.
2. Now add Two MX Records with the information below.
Record 1
Value: email2.firevpsmail.com (Priority 10)
Record 2
Value: email2-relay.firevpsmail.com (Priority 20))
3. Click Save. A MX record has been set.
And click Save.
Add DKIM Record
1.Log into your business email control panel via the link received via email.
2. From the left side menu go to E-mail Manager -> MX Record
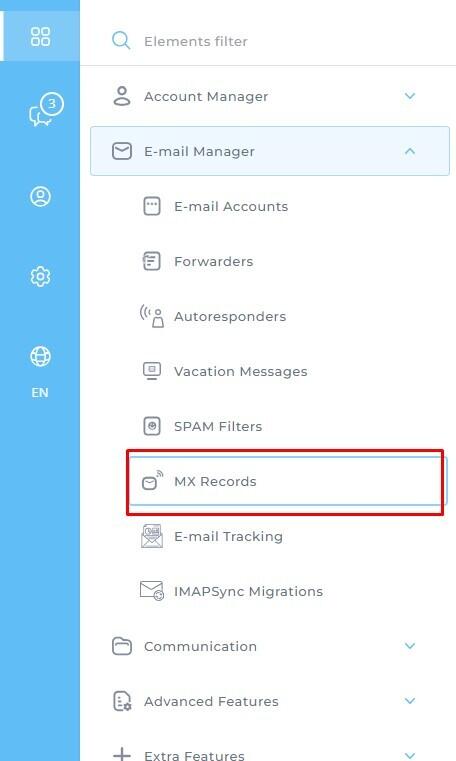
3. Here you will get DKIM Record information (Name/Host & Value)
![]()
4. Go to your domain control panel. Then go to DNS record.
5. Now add a TXT Record.
![]()
6. Click Save. A DKIM record has been set.
Add SPF Record
1. Log in to your domain control panel and go to DNS Record.
2. Now add a TXT Record with the information below.
Name/Host: @ or blank
Value: "v=spf1 include:spf.firevpsmail.com -all"
3. Click Save. A SPF record has been set.
Add DMARC Record
1. Log in to your domain control panel and go to DNS Record.
2. Now add a TXT Record with the information below.
Name/Host: _dmarc
Value: “v=DMARC1; p=none; rua=mailto: xyz@youremail.com “
(Please replace the email with your email)
3. Click Save. A DMARC record has been set.
Log Into Your Email
You can log into your Email in two ways.
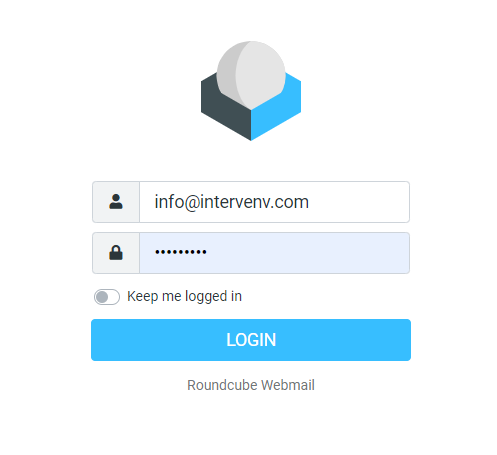
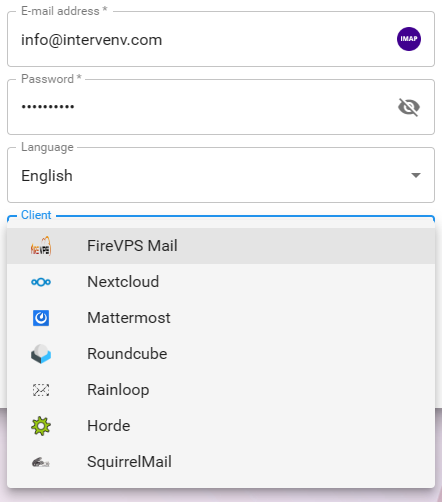
1. Using the URL received via email
Then enter Username
Then enter Password
Then click on login
You will be redirect to an Email.
2. Using the control panel
Go to Left-Side Panel. Then click Extra Features
Then click RoundCube (Or you can use any email client).
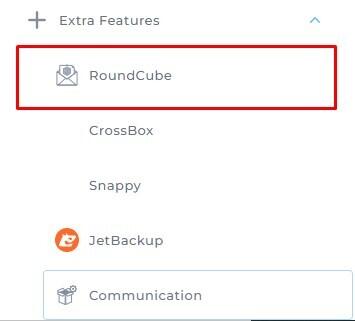
Feel free to utilize any email client that suits your preferences.
Change Password/Username
If you’ve lost your email password for whatever reason or you want to change the Username,
you can reset it from the control panel.
Go to Email accounts
![]()
Then click on the PLUS (+) sign on the right side of the list. Then click on the Change
Password/Username
![]()
A pop windows will apprear. Here you can change the both Username and Password. Once the
input is done please click on Save.
![]()
Delete an Email Account
If you want to delete an email account, go to Control Panel -> Email Accounts.
Then select the email you want to delete.
Then click on Delete.
Go to Email accounts
![]()
How to Set Forwarder
1. Log into your business email control panel via the link received via email.
2. Go to "Email Manager" section, select "Forwarders"
![]()
3. Click on "Create Email Forwarder"
![]()
4. Enter the forwarder name (the main email address) and the destination email address.
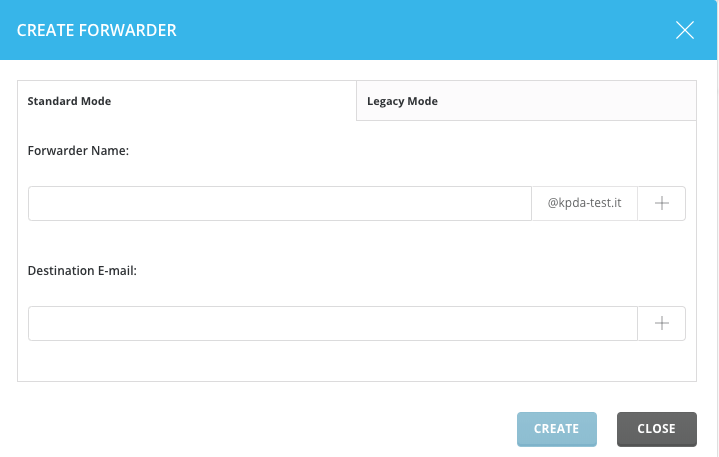
5. Click on "Create" to end the operation.