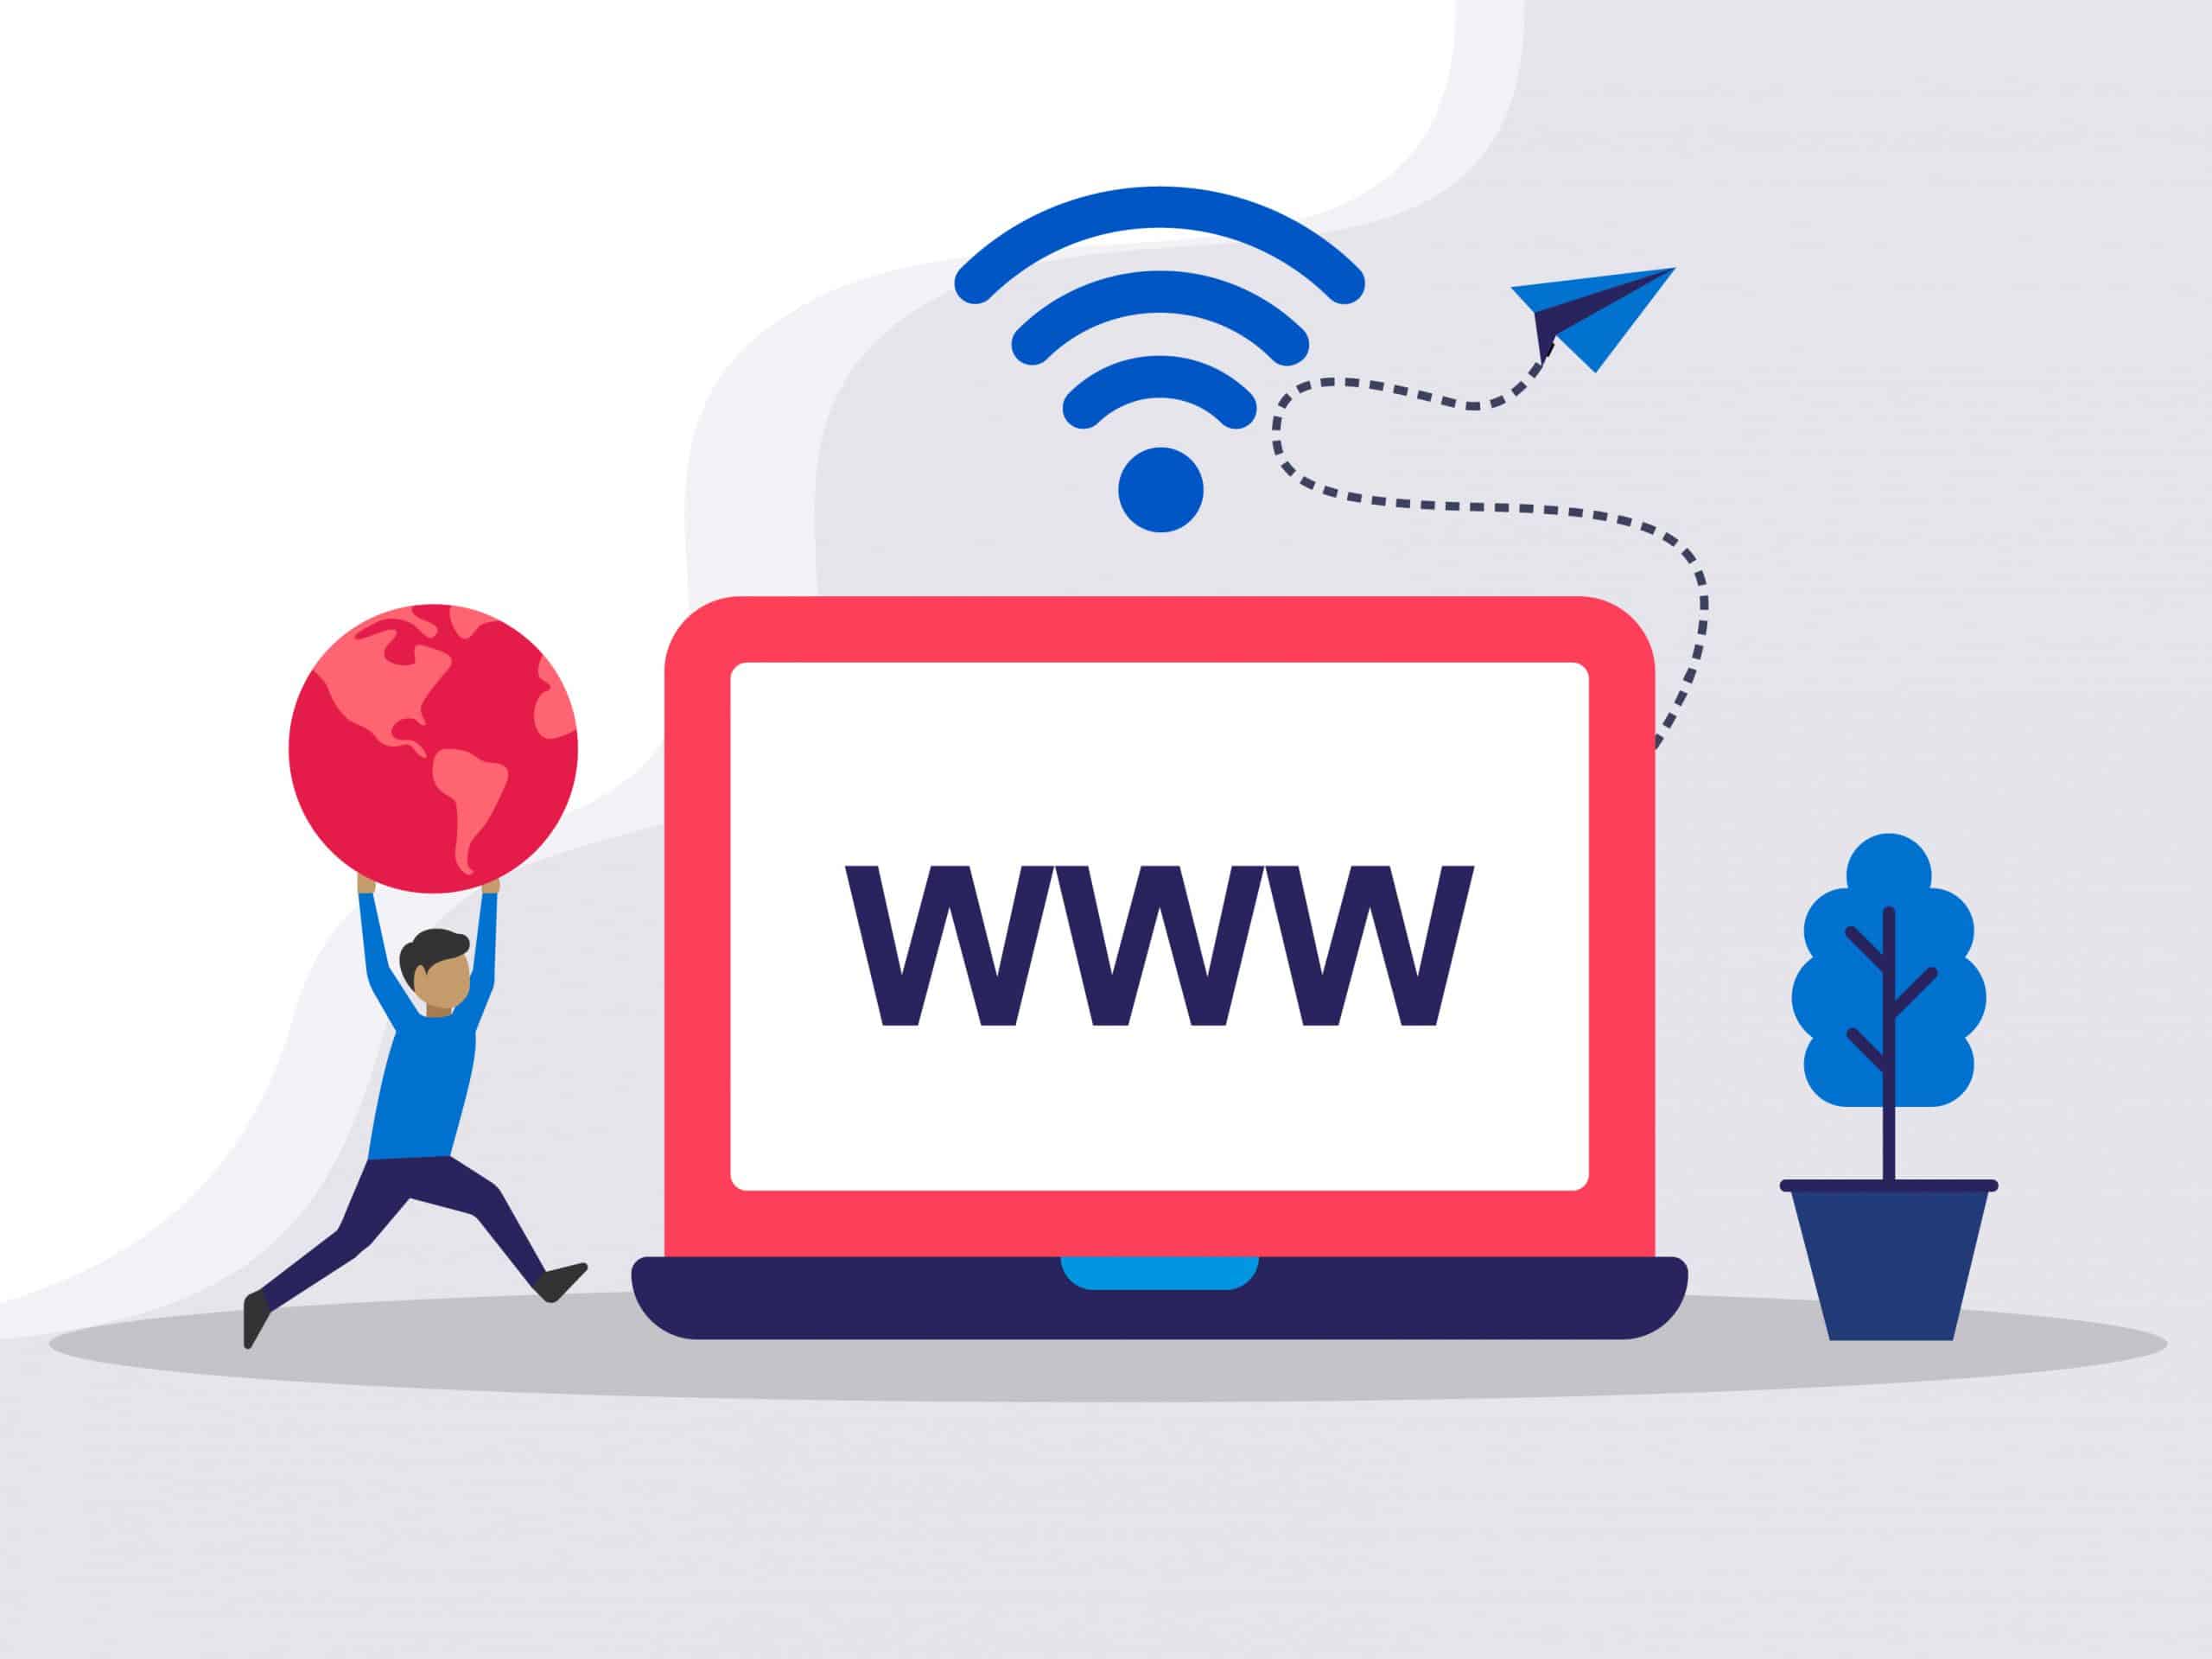
How to Connect to a Linux Server from Windows: A Comprehensive Guide for FireVPS Users
Connecting to a Linux server from a Windows machine is a crucial task for managing your web hosting services efficiently. Whether you are deploying a new application, managing a database, or configuring server settings, having a seamless connection is essential. FireVPS provides a robust and reliable VPS hosting solution, and in this guide, we will explore five different methods to connect to your Linux server from Windows: PuTTY, Windows Subsystem for Linux (WSL), Windows Terminal, MobaXterm, and BitVise.
1. Using PuTTY
PuTTY is a popular SSH and telnet client that allows you to connect to a remote server securely.
Steps:
1. Download and Install PuTTY:
- Visit the official PuTTY website and download the installer.
- Run the installer and follow the on-screen instructions.
2. Launch PuTTY:
- Open PuTTY from the Start menu or desktop shortcut.
3. Configure Connection:
- In the “Host Name (or IP address)” field, enter the IP address or hostname of your FireVPS server.
- Ensure the “Port” field is set to 22 (default for SSH).
- Under “Connection type”, select SSH.
4. Save the Session (Optional):
- In the “Saved Sessions” field, enter a name for the session (e.g., “FireVPS Server”).
- Click “Save”.
5. Connect to the Server:
- Click “Open” to start the connection.
- Enter your username and password when prompted.
2. Using Windows Subsystem for Linux (WSL)
WSL allows you to run a Linux distribution alongside Windows, providing a seamless Linux environment.
Steps:
1. Enable WSL:
- Open PowerShell as Administrator and run:
wsl –install
- Restart your computer if prompted.
- Open the Microsoft Store and install a Linux distribution (e.g., Ubuntu).
- Open the installed distribution from the Start menu.
- Use the ssh command in the terminal:
2. Install a Linux Distribution:
3. Launch the Linux Distribution:
4. Connect to the Linux Server:
ssh username@hostname_or_ip
- Enter your password when prompted.
3. Using Windows Terminal
Windows Terminal is a modern terminal application that supports multiple command-line tools.
Steps:
1. Install Windows Terminal:
- Download and install Windows Terminal from the Microsoft Store.
2. Open Windows Terminal:
- Launch Windows Terminal from the Start menu.
3. Use SSH in Windows Terminal:
- Enter the following command:
ssh username@hostname_or_ip
- Enter your password when prompted.
4. Using MobaXterm
MobaXterm is a comprehensive remote computing tool that provides an SSH client, an X11 server, and more.
Steps:
1. Download and Install MobaXterm:
- Visit the MobaXterm website and download the installer.
- Install the application by running the downloaded file.
2. Launch MobaXterm:
- Open MobaXterm from the Start menu or desktop shortcut.
3. Start a New SSH Session:
- Click the “Session” button and select “SSH”.
4. Configure the SSH Session:
- Enter the hostname or IP address of your FireVPS server.
- Specify your username and click “OK”.
5. Log In:
- Enter your password when prompted.
5. Using BitVise
BitVise is another powerful SSH client with a graphical user interface.
Steps:
1. Download and Install BitVise:
- Visit the BitVise website and download the installer.
- Run the installer and follow the instructions.
2. Launch BitVise:
- Open BitVise from the Start menu or desktop shortcut.
3. Configure the Connection:
- In the “Host” field, enter the IP address or hostname of your FireVPS server.
- Enter your username and password.
- Click “Login”.
4. Manage the Connection:
- Use the terminal and file transfer interfaces to manage your server.
Why Choose FireVPS?
FireVPS offers high-performance, reliable VPS hosting solutions with robust security features and unmatched customer support. Here are some reasons why FireVPS is an excellent choice for your hosting needs:
- Unmetered Bandwidth: Enjoy unlimited data transfer with all VPS plans.
- High-Speed SSD NVMe Storage: Experience ultra-fast storage speeds for better performance.
- 24/7 Expert Support: Get assistance from our knowledgeable support team anytime you need it.
- Scalability: Easily scale your resources as your business grows.
- Full Root Access: Gain complete control over your server environment.
Conclusion
Connecting to your FireVPS Linux server from a Windows machine is straightforward with the right tools. Whether you prefer PuTTY, WSL, Windows Terminal, MobaXterm, or BitVise, each method provides a secure and efficient way to manage your server. FireVPS’s robust infrastructure and exceptional support make it an ideal choice for all your hosting needs. Start leveraging these tools today to manage your FireVPS server seamlessly and efficiently.
If you are still having any issues or confusion, please feel free to knock us on Live Chat from our website. Our support team is always ready to help you.
FireVPS / Live Chat / Skype / support@firevps.net
Need Domain Name?
85% Promo on Domain Names

Dedicated RDP
Poland RDP 50% recurring discount!
Recent Post
FireVPS accept Perfect Money for VPS, RDP, Business Email & Other Products
Remote Desktop Admin RDP 10Gbps RDP Linux VPS Ryzen VPS CyberPanel powered VPS Business Email GSuiteTM Perfect Money checkout process Choose the desired products/package Configure it On the checkout page choose Perfect Money as your payment method. You will be...
Unable to create directory wp-content/uploads/2024/09. Is its parent directory writable by the server?
Symptoms: Suddenly you can not upload any file in WordPress Media. The error shows: “Unable to create directory wp-content/uploads/. Is its parent directory writable by the server”. Diagnosis: The error indicates that the wordpress system can not create...
How to fix WordPress Media error “The uploaded file could not be moved to wp-content”
Symptoms: After moving a WordPress website from one server to another or any security changes in server level may trigger the error. While uploading a file using WordPress Media the upload process failed and the error is “The uploaded file could not be moved to...
Top Ten VPS Providers: Why FireVPS Ranks Among the Best
In today’s digital age, having a reliable web hosting service is crucial for businesses and individuals alike. Virtual Private Servers (VPS) offer an excellent balance between the affordability of shared hosting and the performance of dedicated servers. This article...