How to Transfer Files to a Linux VPS using SSH?
We will show you how to transfer files from a windows system to a Linux VPS running Ubuntu OS. We will be using PuTTy, a popular SSH client to transfer the files.
Here are the steps you need to follow:
Transferring files between a local PC and Linux VPS:
Step 1: Download PuTTy and PuTTy SCP (pscp).
- You need to download PuTTy, and PuTTY SCP (pscp) if you don’t have it in your system.
- Ensure pscp.exe is in your system’s PATH or navigate to its directory using the command prompt.
Step 2: Transferring files using “pscp”.
- Open Command Prompt. You can either search and open it or just use Windows key + R, then type cmd to open it.
- Now navigate to the directory containing the “pscp.exe”. You can do that by running this command in the CMD.
$ cd C:\Program Files\PuTTY

- Use the following command to transfer the file to the Linux VPS
Command format:
$ pscp path\to\local\file username@VPS_IP:/path/to/remote/directory
To transfer C:\Users\YourUser\Documents\transfer.txt to /home/your_vps_user/ on the VPS, use this command:
$ pscp C:\Users\YourUser\Documents\transfer.txt
your_vps_user_name@VPS_IP:/home/your_vps_user/
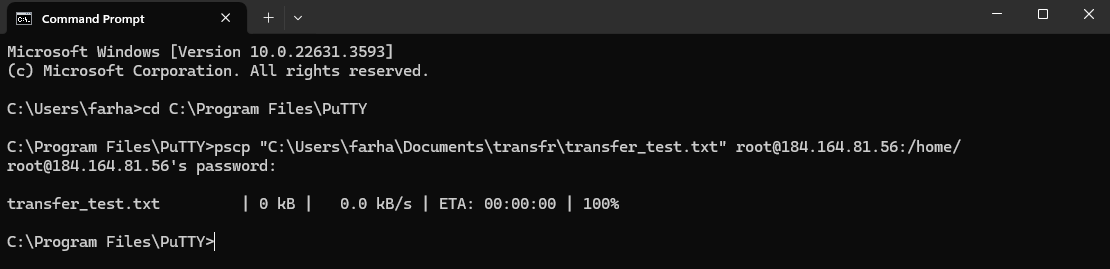
If your VPS’s IP is: 184.164.81.56 and your files name is: transfer_test.txt and the VPS’s username is root, then the command will look like this:
$ pscp “C:\Users\farha\Documents\transfr\transfer_test.txt” root@184.164.81.56:/home/
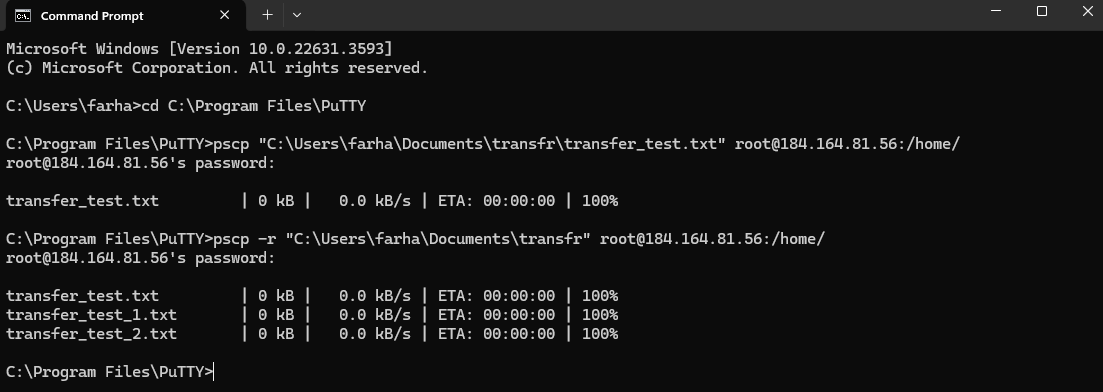
If you want to move a folder to the linux VPS, then the command will look a bit different.
Command format:
pscp -r path\to\local\folder username@184.164.81.56:/path/to/remote/directory
If your folder’s name is “transfr”, then the actual command will look like this:
pscp -r “C:\Users\farha\Documents\transfr” root@184.164.81.56:/home/
Step 3: Verify if the file has been transferred successfully.
- If you want to check if the file has been transferred, then open PuTTy and login to the VPS.
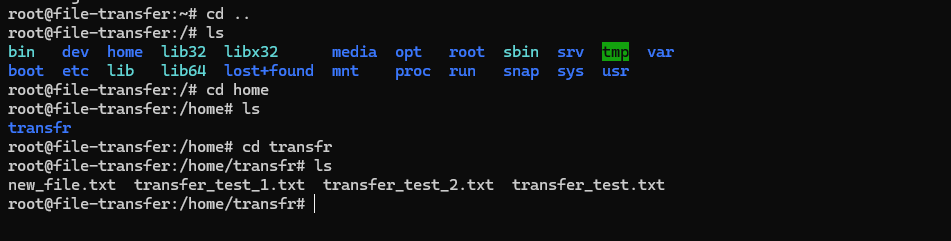
- Then Navigate to the directory where you transferred it.
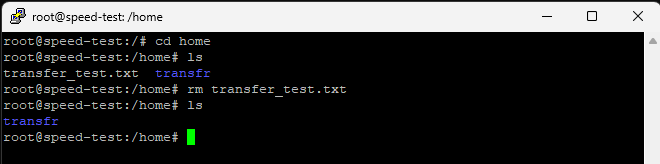
- Go to the directory by using $ cd home
- Then use this command: $ ls

If you want to remove the file, then use the “rm” command.
Step 4: Removing a file or directory if needed.
- $ rm tranfer_test.txt
- Then use this command: $ ls

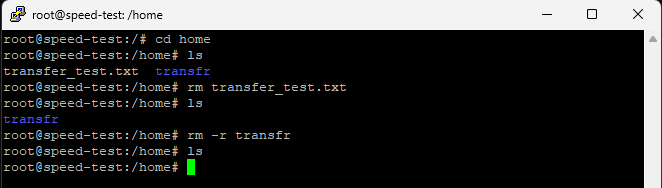
If you want to remove a directory, then use “rm -r” command - $ rm -r transfr
- If you type $ ls again, you will no longer see the file or directory there.
This is how you can easily transfer files from your Windows VPS or PC to a Linux VPS via SSH.
Transferring files between two Linux VPS:
You can also transfer files from one Linux VPS to another Linux VPS. For that follow the instructions given below:
- Open Command Prompt
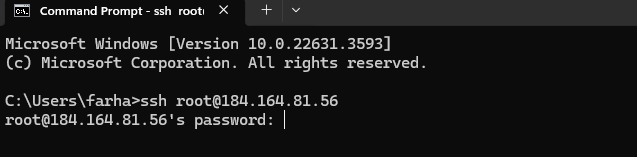
- Login to your Source VPS that contains your files, then type this command and hit enter:
$ ssh root@source_vps_ip

- Enter your VPS password. (You may be asked to type yes or y to confirm the connection before entering the password).
- Determine which file you want to transfer and the location/directory of the file.

- You can use the “scp” command to move files between a source VPS and a destination VPS.
- General Command format:
$ scp “/home/folder1/filename.ext” root@destination_ip:/home/folder2/filename.ext
Here “/home/folder1/filename.ext” is the location/directory of the file in the source VPS. This part is for the destination VPS “root@destination_ip:/home/folder2/filename.ext”.
Here root@destination_ip is the username@destination_ip, :”/home/folder2/filename.ext” is the destination directory to transfer the file/folder.
For Example, If the Destination VPS’s IP is: 170.205.52.101 and the username is “root”; and the file is in “home/transfr” directory in the Source VPS (184.164.81.56), then use the following command to transfer the file:
$ scp “/home/transfr/new_file.txt” root@170.205.52.101:/home/
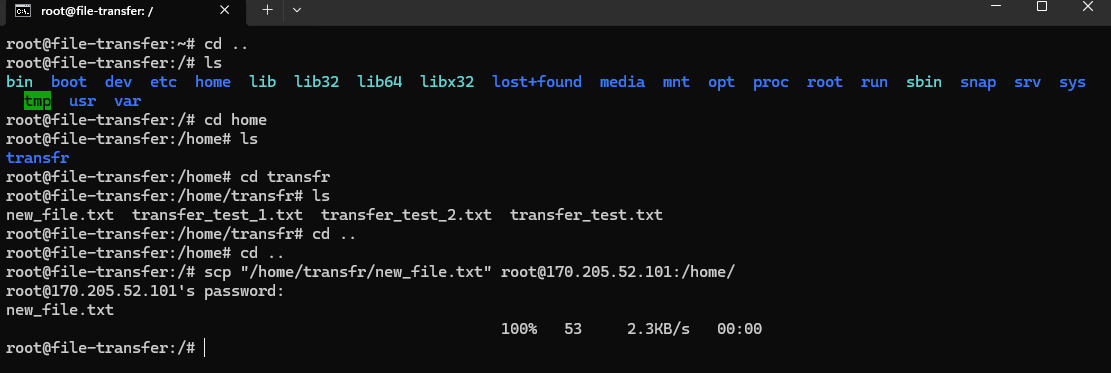
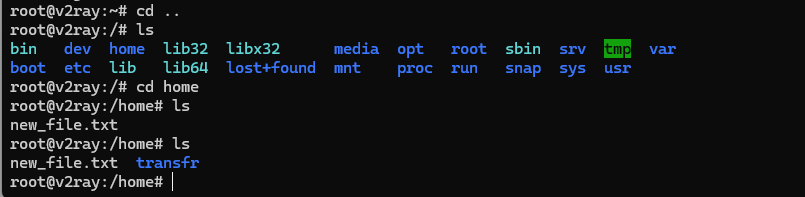
If you check in this Destination VPS: 170.205.52.101 you will see the file there.

If you want to transfer the whole folder/directory, then just add “-r” after “scp”.
The command will look something like this:
$ scp -r “/home/transfr/” root@170.205.52.101:/home/

If you check again, you will see the folder there now.
You can transfer files from VPS (170.205.52.101) to VPS (184.164.81.56) too. Just change the IP and directory name accordingly.
$ scp “/file name” root@184.164.81.56:/home/
For folder/directory:
$ scp -r “/Folder or directory name/” root@184.164.81.56:/home/
This is how you can transfer files between two different Linux VPS easily.
FireVPS offers both Windows VPS/RDP and Linux VPS. Buy Windows VPS/RDP and Ryzen Linux VPS from FireVPS for your VPS hosting needs. If you are still having any issues or confusion, please feel free to knock us on Live Chat from our website. Our support team is always ready to help you.
FireVPS / Live Chat / Skype / support@firevps.net

Need Domain Name?
85% Promo on Domain Names

Dedicated RDP
Poland RDP 50% recurring discount!
Recent Post
Fixing “Read‑Only File System” Error on Linux System: Causes & Complete Solutions
fsck is designed to fix errors, not delete data. However, if it finds severely corrupted files, it may move them to a lost+found folder. Always back up if possible before running it.Some VPS platforms use shared virtual disks, which may be...
Command Not Found in Linux: Real Error Examples & How to Fix Them
It could be because the binary is not in your system's PATH. Run echo $PATH to see your current PATH, and ensure it includes the directory where the binary is installed.Functionally, it's the same issue — the shell can't locate the command....
bash: systemctl: command not found – How to Fix This Common Linux Error
If you’ve ever run into the error: bash: systemctl: command not found... while trying to manage a service in your Linux VPS or server, you’re not alone. This is one of the most commonly encountered Linux command-line errors, especially by...
Custom AI Models vs. Pre-Trained ChatGPT: What’s Best for Your Business?
In our day-to-day lives, we use AI models extensively—for research, email handling, knowledge sharing, content creation, and more. Among these, the most prominent leader in the AI market is ChatGPT, which has become an integral part of our...